Winter Backcountry Hut Trip Tips
- By Cassie Ryan
- Feb 25, 2022
- 0 Comments
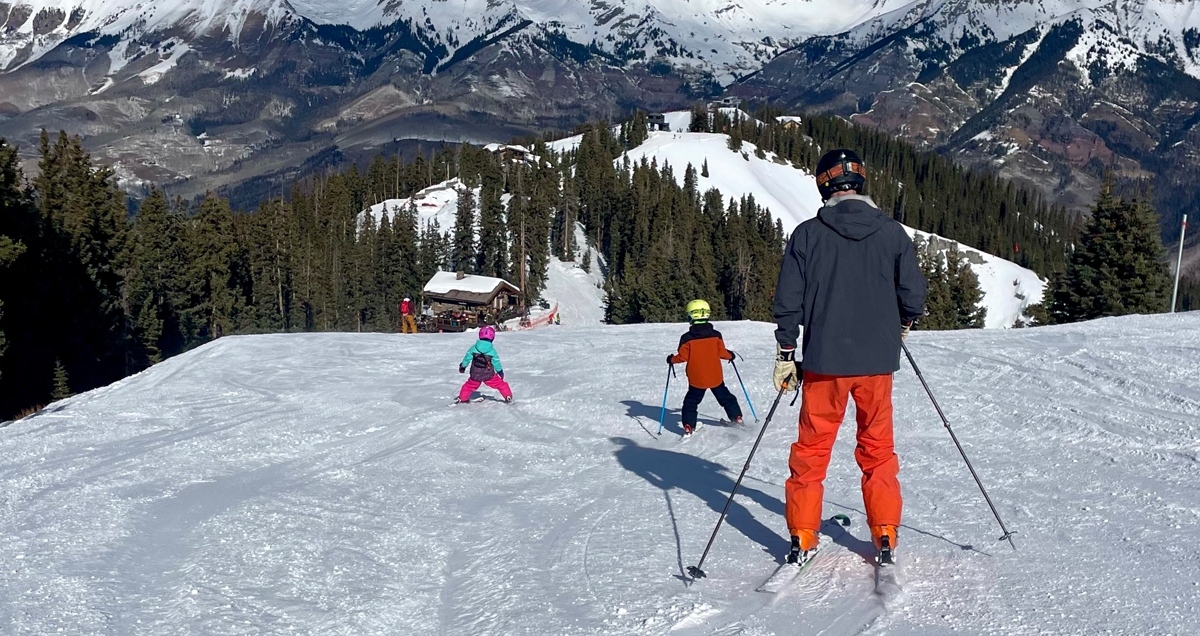
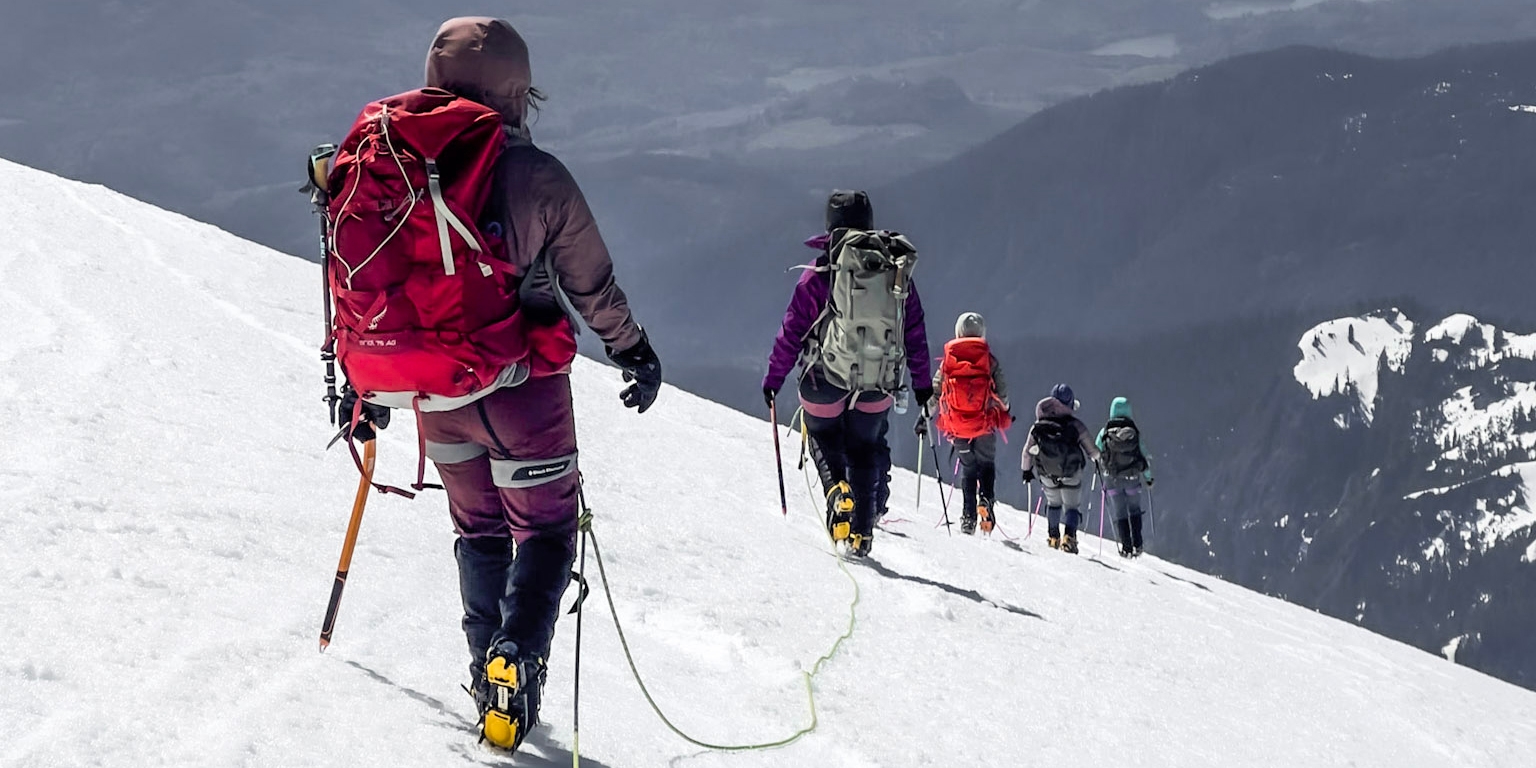
Are the mountains calling but it’s the dead of winter? You might consider planning a group winter hut or yurt trip, skiing or snowshoeing in with your pals through the beautiful backcountry. Winter travel in the backcountry might seem intimidating if you’ve never done it before, but it can be a truly unique and fun experience (not to mention crowd-free)—as long as you’re well prepared. Our in-house Gear Geniuses have put together a list of tips for snowy backcountry adventures that will help you make the most of your trip.
Planning:
- Put together a good Excel spreadsheet for organizing group gear, food, libations, first aid, etc. Don’t forget to include contact info, emergency contacts, trailhead directions, and where you’re staying.
- Make a meal plan for the trip with your crew in advance. If you’re in a larger group, you can break into small cooking/cleaning groups. Make sure to consider food weight as a factor in what you pack/prep.
- Planning to pack libations? Carefully evaluate your approach in terms of weight, ABV%, and days you'll be out in the backcountry, as those factors all play a role in what you bring along.
Packing:
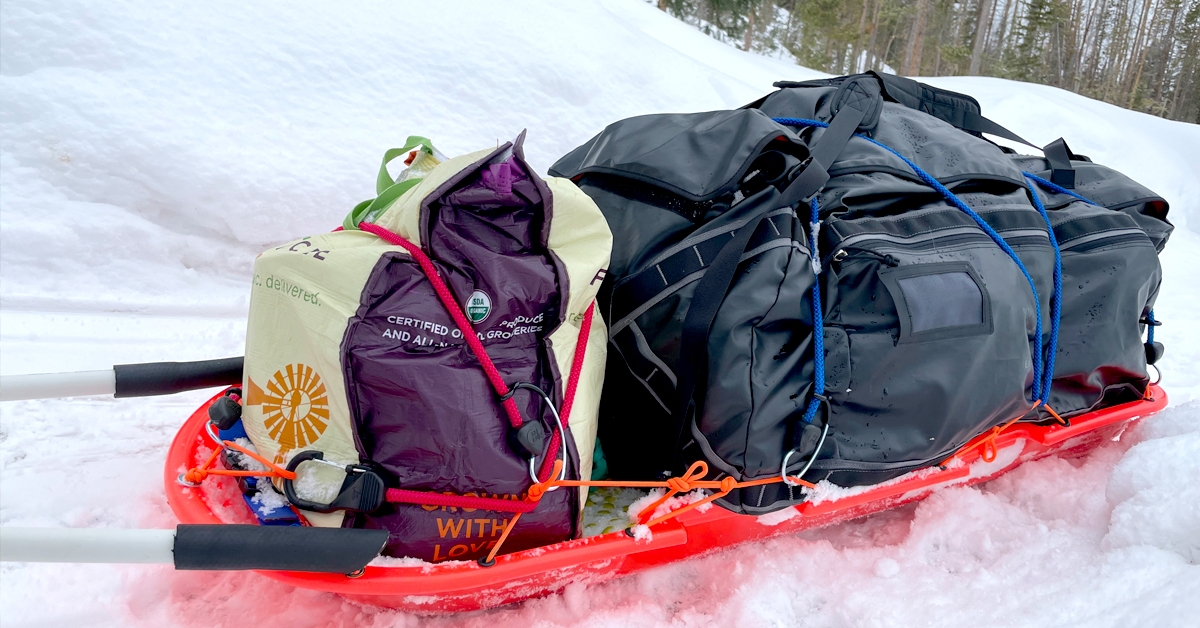
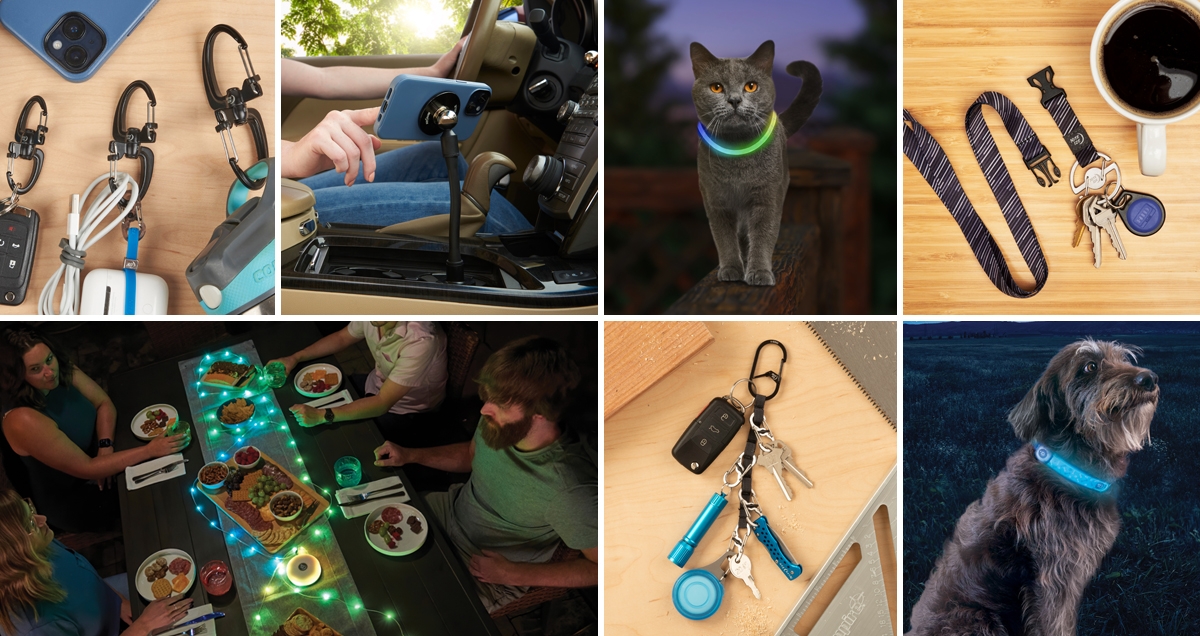
- Use a sled to lighten the load, carrying only a light day skiing pack on your back. You can put your sleeping gear, food, and libations on the sled. And in an emergency, a sled can also carry someone back out if injured. Secure gear on your sled with some HookLock or SlideLock Bungees, and outfit it with plenty of Gear Ties and S-Biners for extra gear organization.
- Bring an extra set of adjustable poles in case one breaks. Skiing or touring with one broken pole is not fun. Attach an extra set to the sled with some Gear Ties.
- Store batteries and rechargeable devices in an interior pocket or somewhere warm and insulated to prevent battery degradation.
- Always keep an extra pair of gloves that you can layer in case the temperature drops, or if your main pair gets wet.
- Keep a puffy jacket in your pack for break times to bundle up.
- The Hitch Phone Anchor + Tether will ensure that that photos, videos, and mapping are easy to do without fear of dropping your phone in all that deep powder.
- Bring backup power supplies or a solar charger so you can keep phones, rechargeable lights, and other devices running.
- Pack a bluetooth speaker with a long battery life for tunes in the hut/yurt.
- Bring ear plugs – you never know who lied about not being a snorer.
Waterproof (and Snow-Proof) Protection:
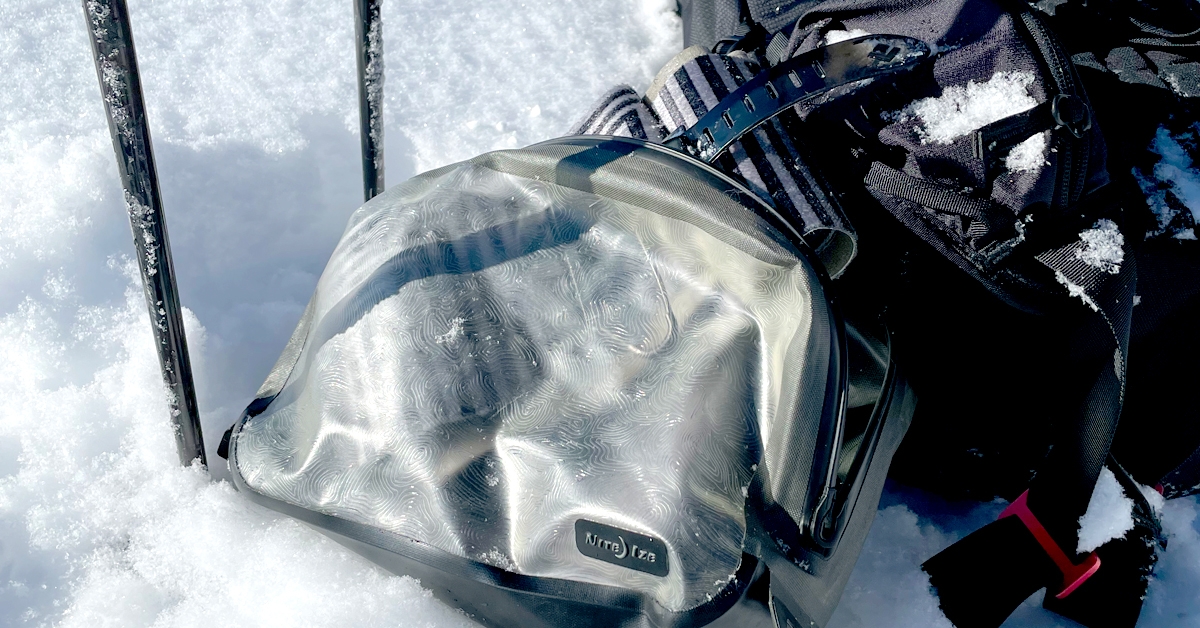
- Dealing with damp, snow-filled gear isn’t fun. RunOff Waterproof Bags are excellent for keeping things dry and organized, especially electronics, clothing, and paper products.
- The Medium Packing Cube is great to store ski skins, keeping the other contents of your pack from getting wet from the damp skins.
- Use the Small Packing Cube to keep your first aid kit dry and convenient.
- To save space, grab a compressible Large Packing Cube to store your hut clothes or extra ski layers. It will also keep them organized and dry.
Other Gear for Your Emergency and Repair Kits:
Gear Ties, hose clamps, bailing wire, paracord, JB weld/fast set epoxy, spare binding screws, extra clips for skins, duct tape, spare batteries, a small multi-tool, small wax candle, spare lighter, space blanket, and of course first aid supplies (with blister protection) will complete your kit.
Watch Gear Genius Jay reveal what he never leaves for the backcountry without:
Organization At the Hut:
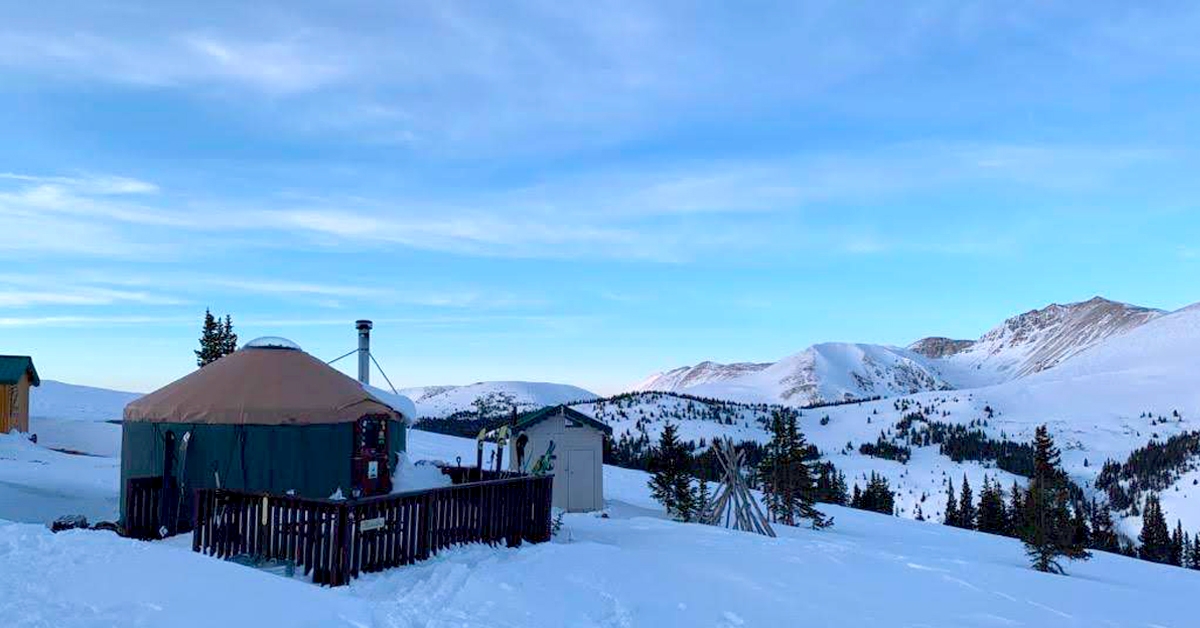
- Yurts have a cross pattern lattice around the sides, so it makes for nearly unlimited hanging opportunities with Gear Ties, the Gear Tie Bendable S-Hooks, and large Plastic S-Biners.
- Hang gear up to dry inside of yurts or huts with any of the solutions mentioned above, or using a GearLine to keep things organized and in reach.
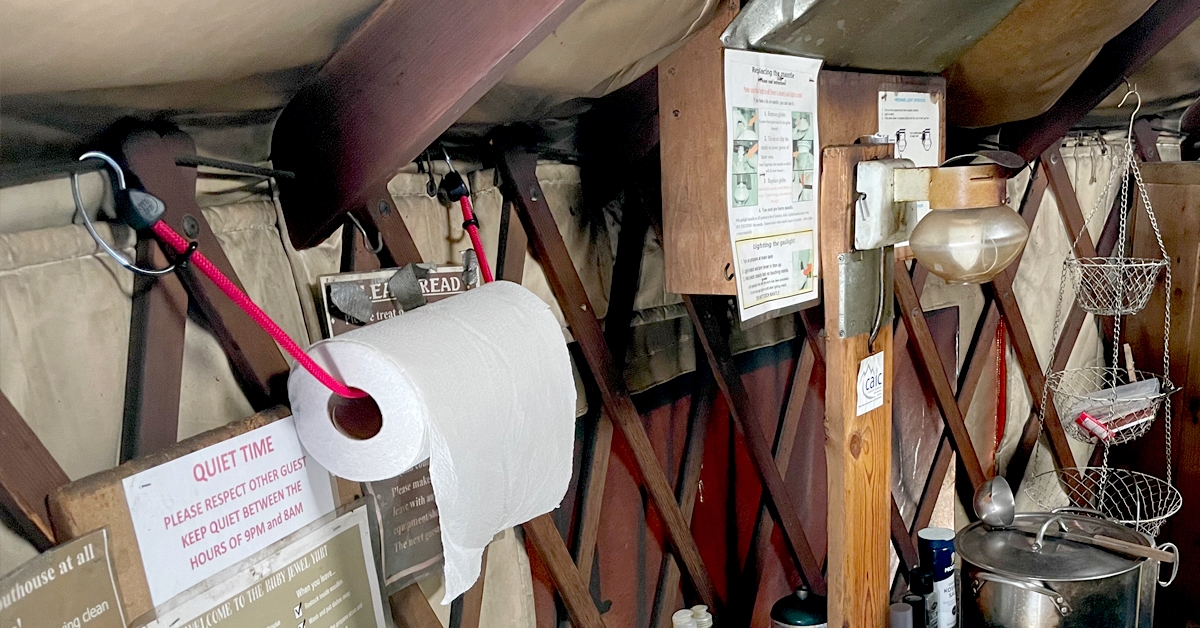
- HookLock Bungees are great for hanging paper towels or creating clothes lines.
Lighting Up the Yurt:
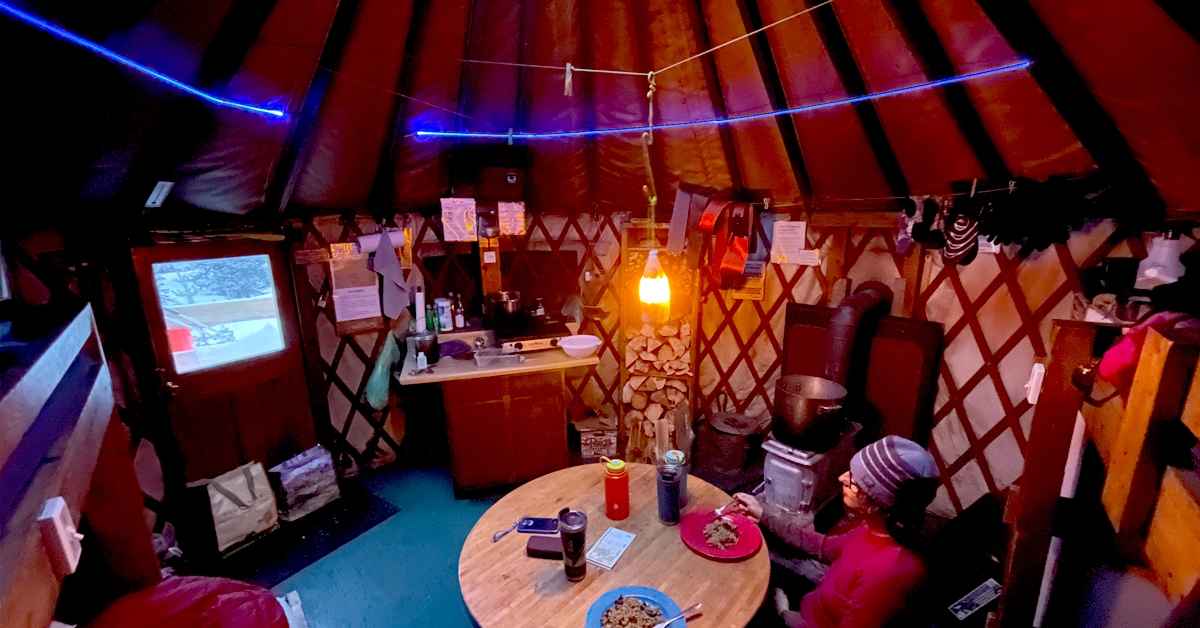
- An S-Biner can turn your headlamp into a hanging lantern for better lighting in dim yurts or huts.
- The Radiant Utility Light is a fantastic multipurpose light. It has a super bright flashlight for seeing what that noise was outside, and a task light for general shadow-free illumination when map reading/route planning. It also has a red task light for night vision.
- A SpotLit is a great little night light to leave on throughout the night. When someone needs to head to the outhouse in the middle of the night, it helps save shins, noggins, and toes. It also means that the person getting up doesn’t have to blind everyone else with their headlamp.
- The Radiant 314 Rechargeable Lantern holds a nice long charge for backcountry trips. The amber mode is perfect for ambient lighting in the evening while kicking back, and can also charge devices in a pinch.
- Get the party started with a ShineLine or two for ambient lighting (or NiteGems in Disc-O mode).
- SlapLit Drink Wraps makes it easy to identify your beverage – day or night. Having an insulator on your beverage also helps keep your hands from getting cold.
If You’re Bringing Dogs:
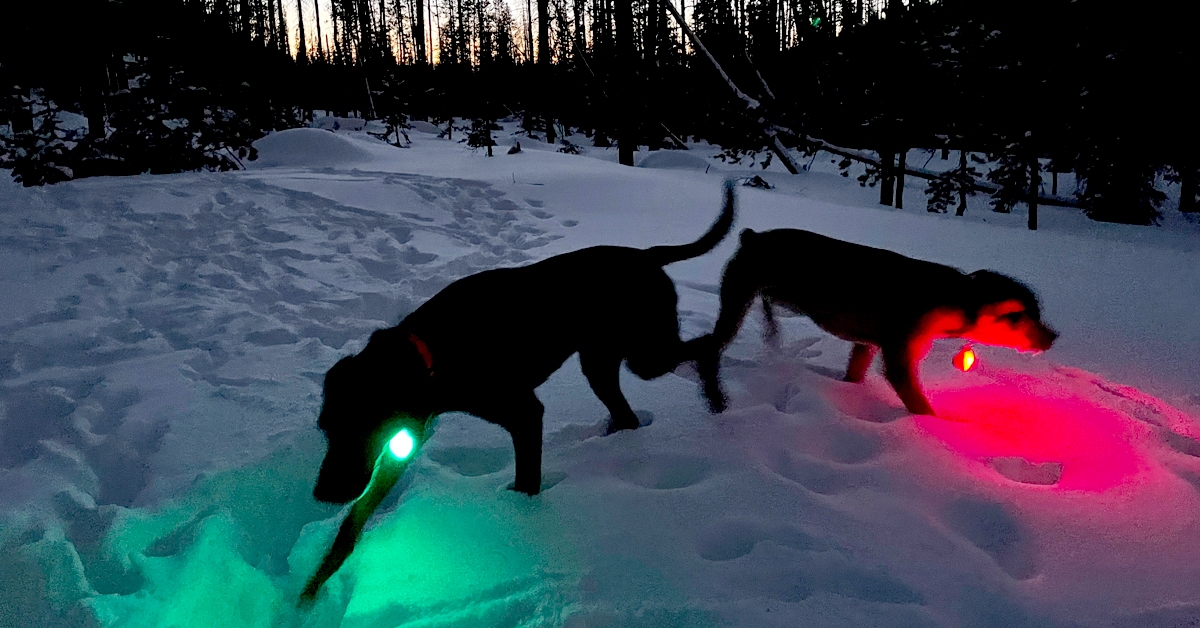
Don’t forget SpotLits (rechargeable or not) to keep track of them in the evenings when outside, clipping right onto their collar.
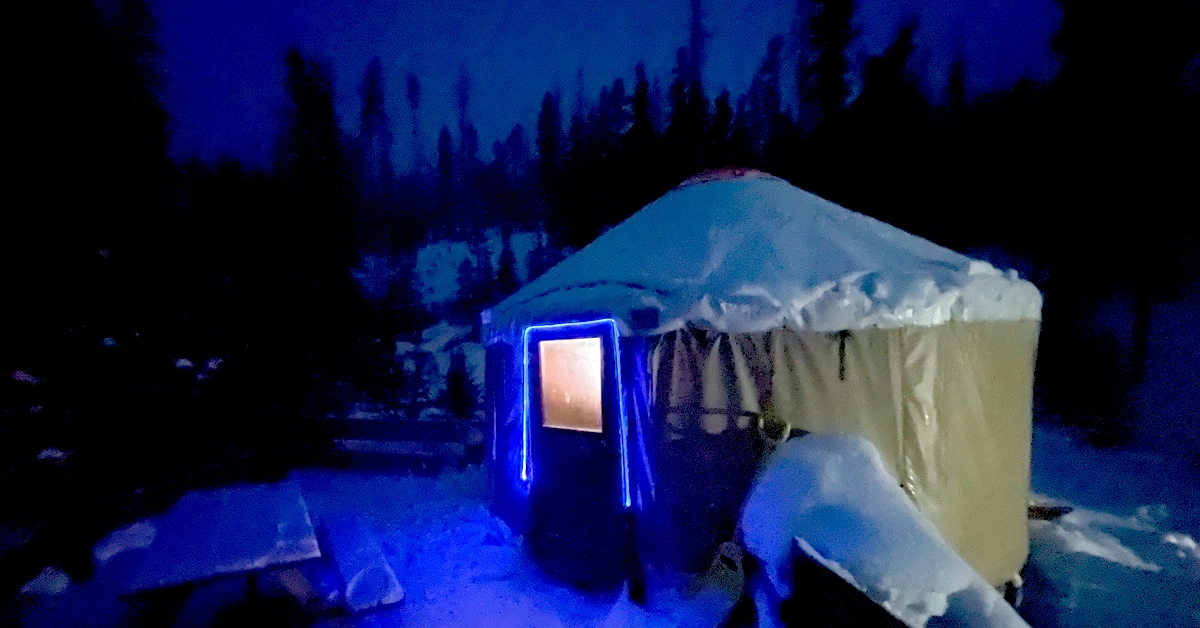
We hope these tips give you the confidence and preparation you need to commit to a wintry adventure in the backcountry. And maybe, you can avoid some of the mistakes we made on our first trip!
If you end up taking the trip, we’d love to hear about it in the comments! Or, if you’re a seasoned backcountry traveler, share your own tips in the comments below or show us how you use your Nite Ize gear in the wilderness by tagging us on social media @niteize.


